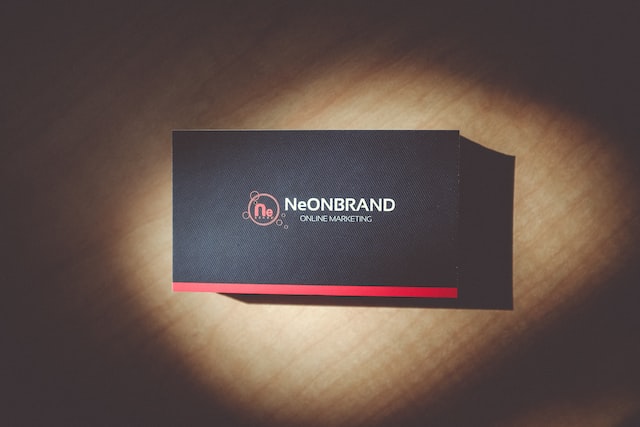
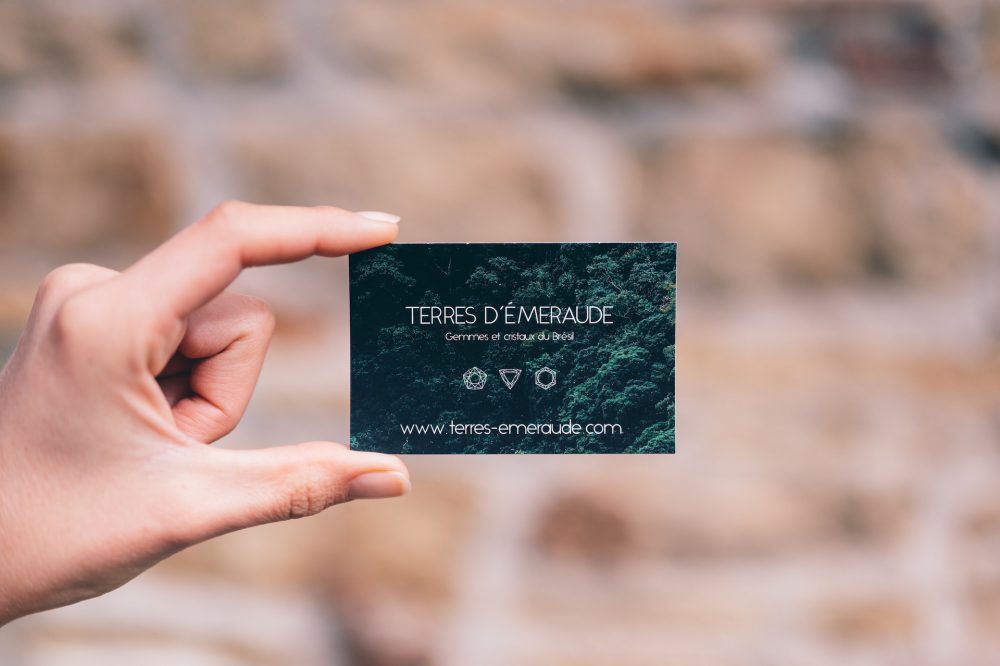
If you are looking for a way to create your own business cards, you should try using the Cricut. Using this tool allows you to design your own unique cards that you can print on cardstock or foil-transfer inserts. This is a great way to make custom business cards that you can use for any occasion.
Design space
You can now make personalized business card holders and designs with Cricut Design Space. This is an app that can be downloaded for free on your mobile device or desktop. It is easy to use and allows you to create designs that you can print and put on your business cards.

In addition to making DIY business cards, you can also create custom tags and labels that you can attach to products and packages. The Print and Cut feature in Cricut Design Space makes it easy to cut your design on any materials.
Cricut Design Space comes with hundreds of images and fonts. Using a Cricut machine to create your own designs is one of the best ways to make your own products.
Cricut Design Space offers a free month trial for owners of Cricut machines. You can also pay to access more design options.
To make a custom card using Cricut Design Space, you need a Cricut ID. Once you have a Cricut ID, you can log on to the app with it.
Foil-transfer insert cards
If you are ready to add foil to your handmade cards, you need to use the Cricut Foil Transfer Tool. It is a pressure-activated tool that transfers foil onto a base material. To learn how to use this tool, watch the video below!
First, you’ll need to have a Cricut machine. You can get a Cricut Explore or a Cricut Maker. For a Cricut Maker, you’ll need to have an active Cricut Access subscription.
Next, you’ll need to create a Cricut project. There are two types of projects: Ready to Make Projects and Insert Cards. Each type can be used for different purposes.
For Ready to Make Projects, you’ll need to pick a card that has foil lines. Then, you’ll need to load the card onto the mat. Once you’ve loaded the card onto the mat, you’ll be prompted to remove the foil transfer sheet before you begin cutting.
When you’re ready to cut, you’ll need to click GO in Design Space. You can then select the foil tip that you want to use.
Create unique business cards
If you have a Cricut machine, you can make some very unique business cards. These can be a great way to introduce your brand to potential clients. The machine allows you to customize your card with a variety of shapes, colors, and embellishments. You can even cut out your own logo if you have a graphic design background.

Depending on the style of your business, you may choose to use a standard shape for your card. This is a nice option if you want to get a professional look without spending too much.
For a more unique design, consider using a contrasting insert sheet. You can find these at your local craft store. Or, you can choose a material that is printed on both sides, such as metallic vinyl. A foil overlay is also an attractive option for printing.
In addition to your business name, you might include a photo or QR code. If you have a QR code, you can put it on the front or the back of your card.
Print on cardstock
The Cricut is a great tool for making professional looking cards for your business. You can choose from a wide selection of templates and use a variety of materials to create your own unique designs.
There are two key components to a business card. A graphic and a heavy duty paper to print on. Once you have designed your card, it’s time to get your machine ready to cut it.
To start, load your design into the Cricut machine. Be sure to follow the manufacturer’s instructions for your machine.
After you’ve loaded your image, you’ll be asked to select your cutting mat. Most paper materials will cut best on the blue LightGrip cutting mat. However, you may need to switch to Medium Cardstock if you’re having trouble with the pressure settings.
Next, you’ll need to flatten your design. This includes all the graphics, text and the outline of your card. Your Cricut isn’t going to cut through the entire design, so you’ll need to make sure the design is not too thick.
